Article
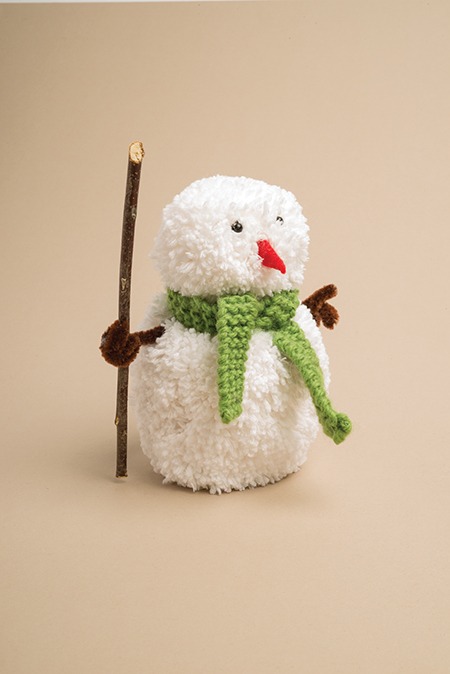
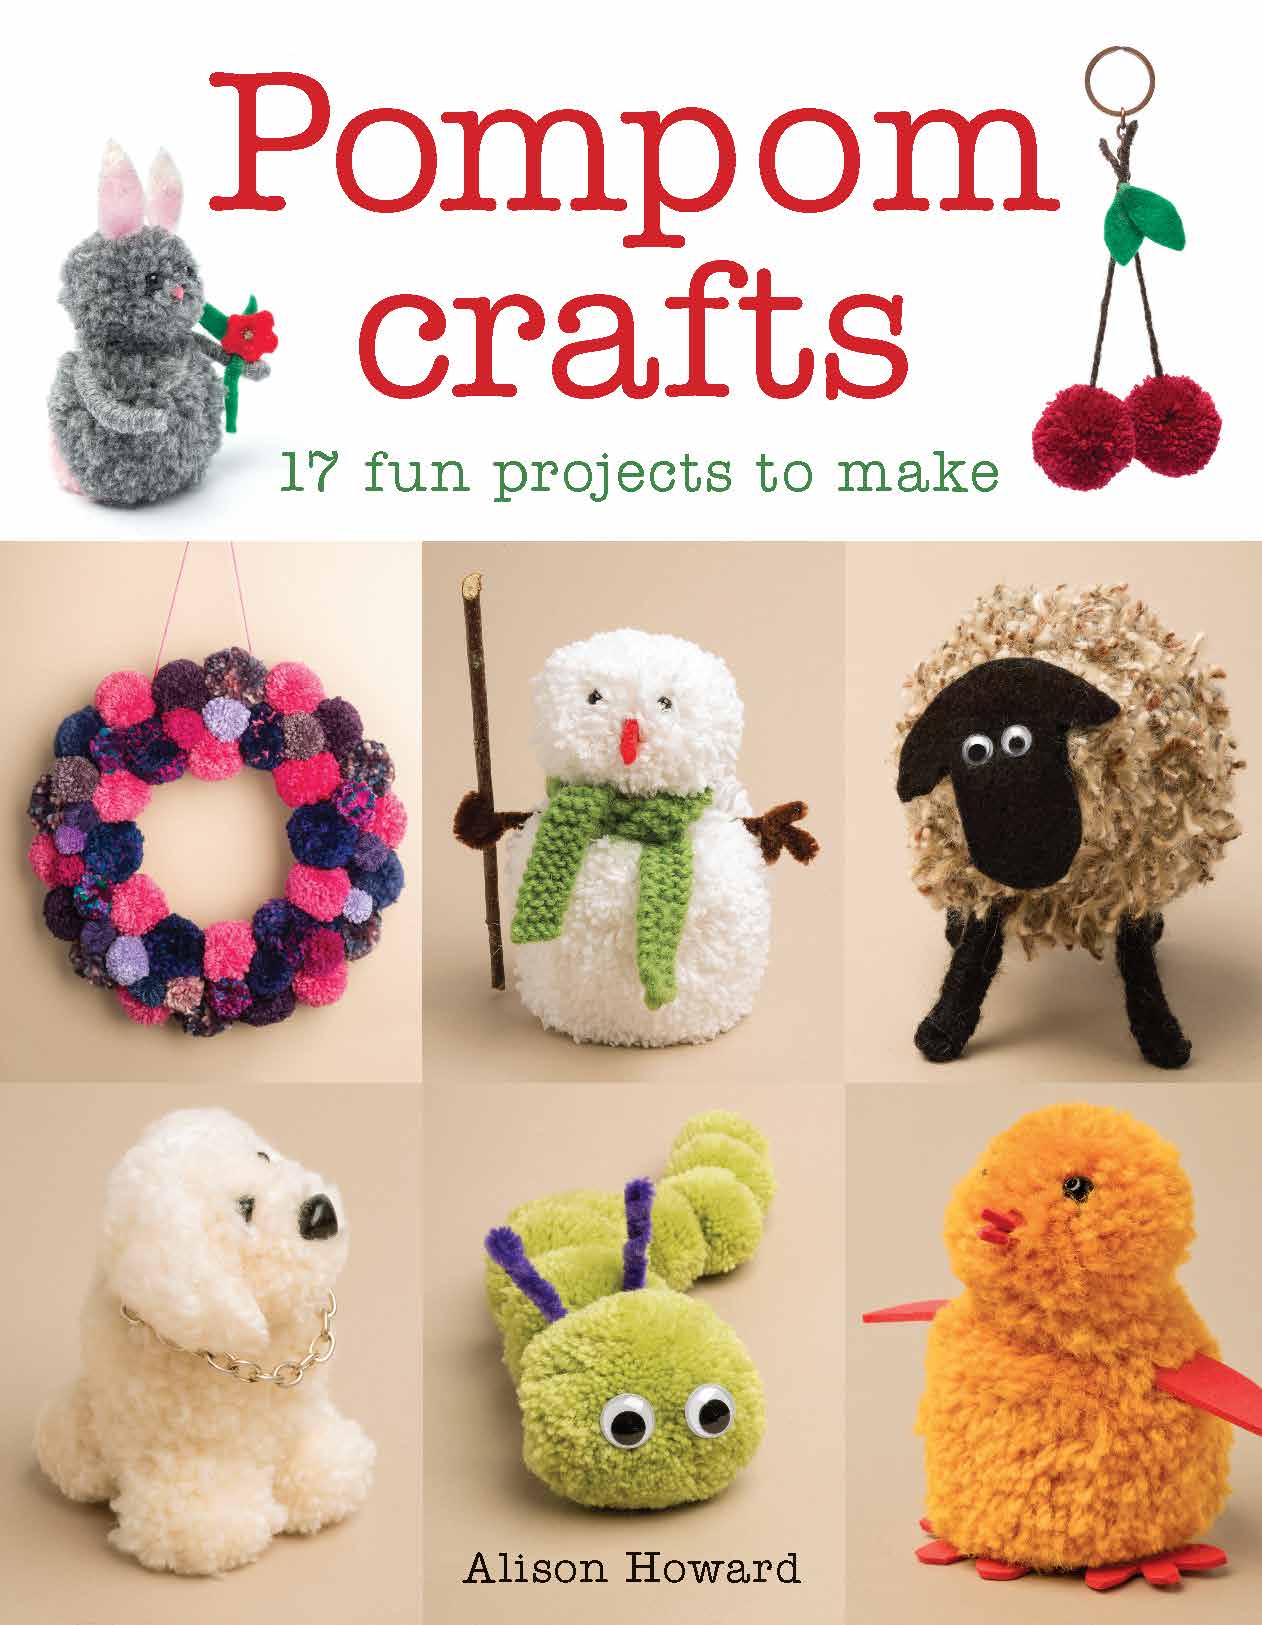
On cold winter days this jolly fellow from Alison Howard’s Pompom Crafts (£5.99, www.thegmcgroup.com) will put a smile on your face. Enhance the frosty effect by using ice-white cotton yarn and leaving the pompoms slightly shaggy.
Materials
Medium and large pompom makers
About 50g of DK cotton or cotton-mix yarn
Oddment of green DK or 4-ply yarn
A brown chenille stick
2 x black 5–6mm beads
Scrap of red felt
All-purpose adhesive
Sharp scissors
Darning needle
Pair of 4mm knitting needles
Small round-nose pliers
Pointed tweezers
Pencil
Clothes pegs or paper clip
Making pompoms
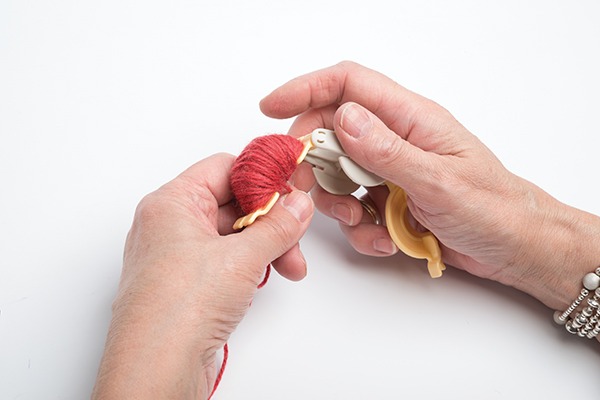
Pompoms may be made by the traditional method of using circles of card, but this is really time-consuming. A faster, fun option is to use special plastic pompom makers. Sets of these ingenious tools are widely available from craft or haberdashery departments or online. The type used for this book is sold in sets containing either a very small (1 1⁄8in [30mm]) and a small (1 5⁄8in [40mm]) pompom maker or a medium (2 3⁄8in [60mm]) and a large (3 1⁄8in [80mm]) pompom maker.
1 For best results, wind the yarn smoothly and evenly over the pompom maker, taking care to cover the outer edges. For a firm pompom, be sure to fill up each side of the pompom maker completely.
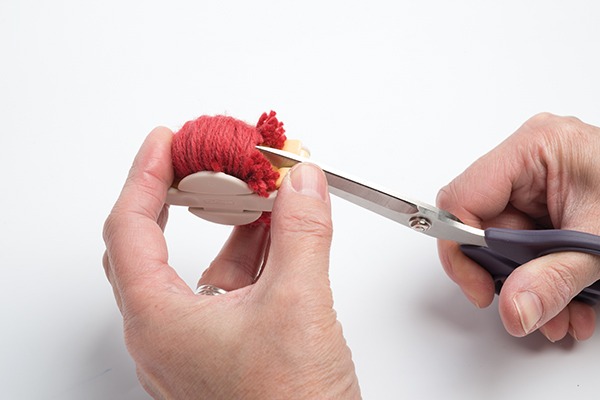
2 Cut the yarn strands a few at a time using sharp scissors, taking care not to dislodge the pompom maker.
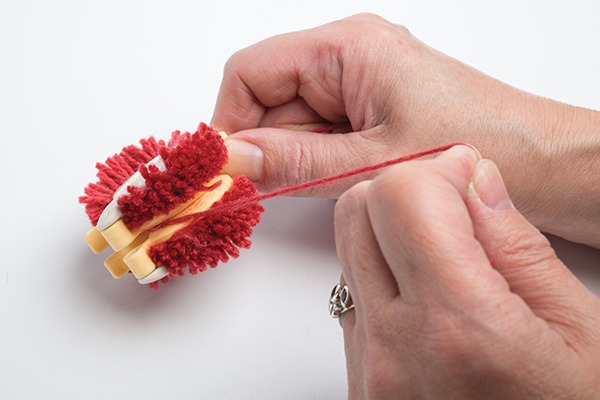
3 To fasten off, tightly wrap the yarn once around the entire pompom maker then wrap the yarn again and tie using a double knot. If you think the yarn you have used is likely to break, tie the pompoms off using a toning colour of strong cotton thread or fine cotton yarn.
4 Open up the pompom maker and remove your pompom.
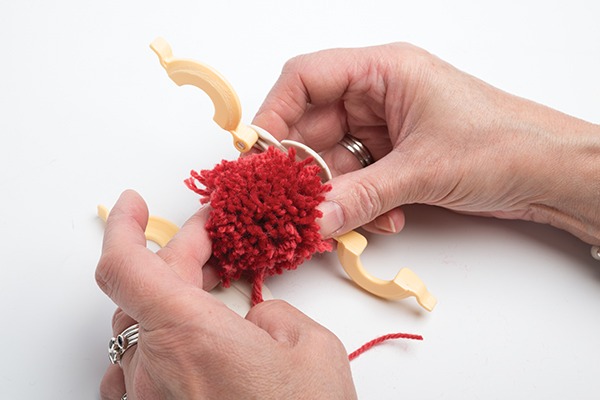
5 Fluff up the pompom and trim to shape.

To make the Snowman
1 Make one medium and one large pompom, leaving the ends used to tie them together long. Trim very lightly to create the frosty effect.
2 Knot the pompoms together securely, then thread the darning needle on each end of yarn individually and sew back and forth through both pompoms several times for
extra security.
3 Using the pliers, twist one end of the chenille stick into a hand shape as shown in the photograph.
4 Poke the other end through the top of the larger pompom, then twist the other end into a hand shape. Part the yarn on the pompom and squeeze in adhesive to fix the arm in place. Allow the adhesive to dry.
5 Part the yarn on the head using the end of a pencil at the point where you want to place each eye, then squeeze a small blob of adhesive into each indentation. Using the tweezers, position the eyes.
6 Cut a small triangle from the red felt and roll to form a nose, secure with adhesive and hold in place with a peg or paper clip while it dries.
7 Add a little more adhesive to the base of the nose. Part the yarn with the pencil and push the nose firmly in, pinching the yarn over it to secure.
8 Using the green yarn, cast on five stitches and work in garter stitch for 12in (30cm). Cast off and sew in the yarn ends.
9 Tie the scarf round the neck of the snowman.
Find more creative projects in Alison Howard’s Pompom Crafts (£5.99, www.thegmcgroup.com)
Article Details
- Date 16 December 2016
- Tags Projects
- Newsletter
Sign Up To Stay In Touch